Learning to sew pointe shoe ribbons for the first time can be a daunting task, we hope this step by step guide makes it a little easier.
If you have any questions or concerns about how to sew pointe shoe ribbons please dont hesitate to contact our friendly staff.
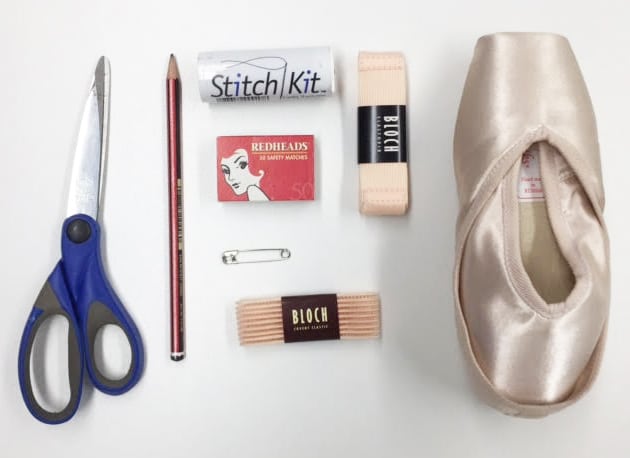
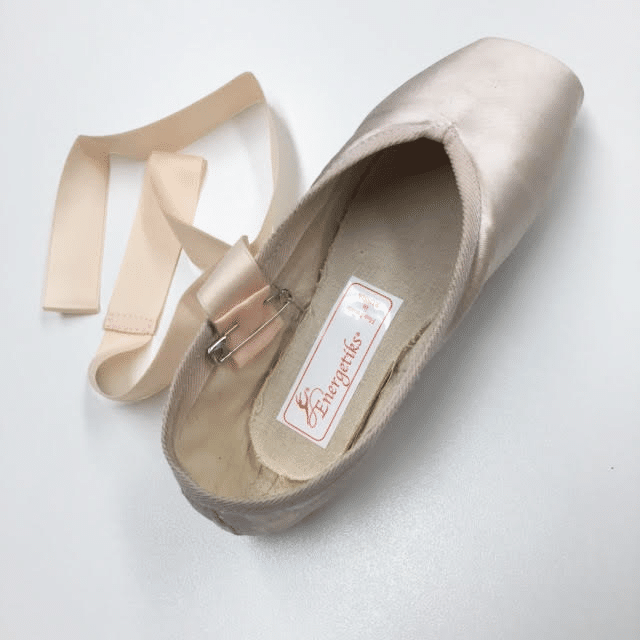
What will you need?
Ribbons
Elastic
Needle
Thread
Scissors
Lighter/ Matches
Safety Pins
Pencil/ Fabric Marker
Step 1
Fold the back of the shoe forward and down, then mark each side of the shoe with a pencil or fabric marker on the cotton lining in the angle made.
This is where the BACK of the ribbon should be attached.
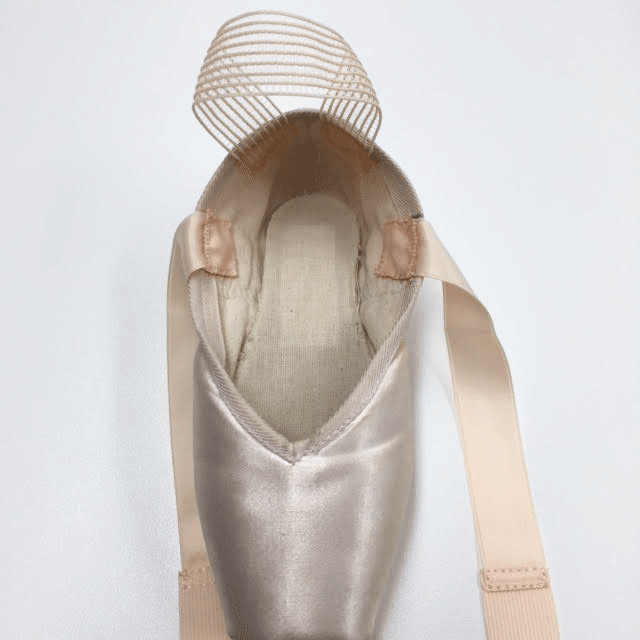
Step 2
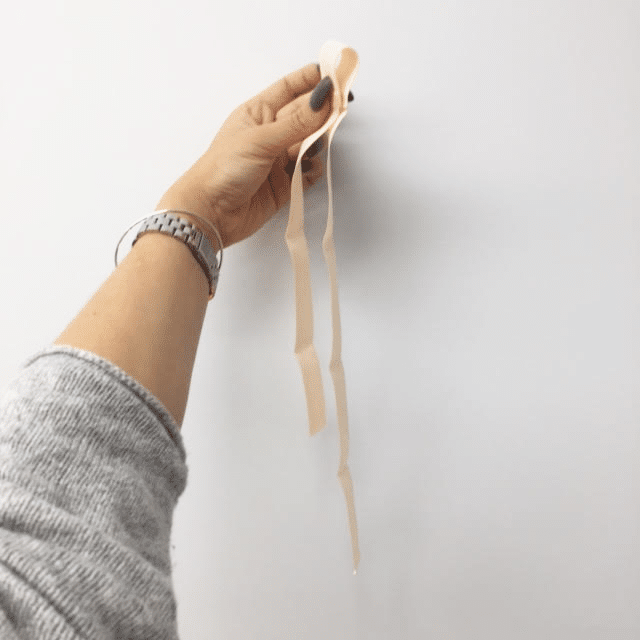
Notice that the ribbon has a short and a long side on either end of the middle elastic section.
The shorter side of the ribbon is used to sew into the shoe.
Step 3
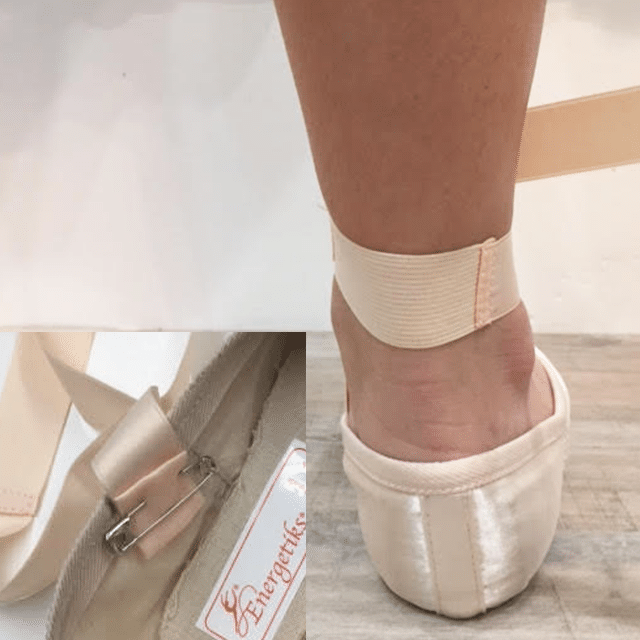
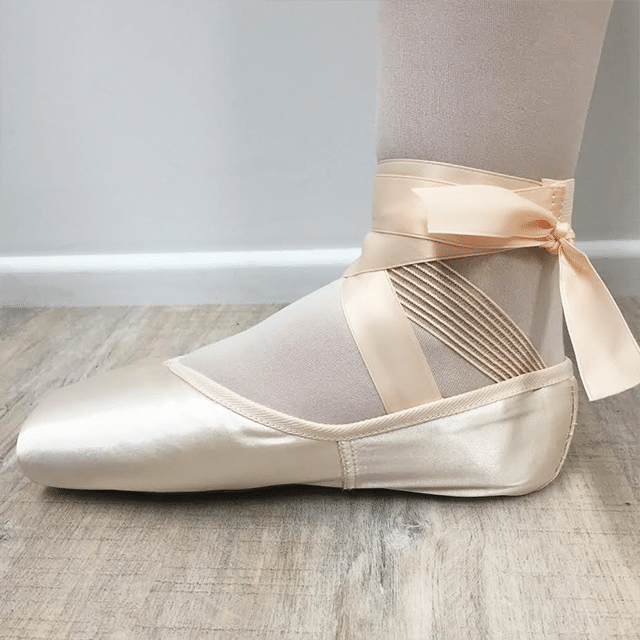
Ensure that the elastic section of the ribbon wraps around the Achilles tendon at the back of the dancers’ heel.
Test by attaching the ribbon with a safety pin on the marked spot and tie around the foot.
Measure both the inside and outside ribbons before sewing as the may need to be different lengths.
Step 4
Now that you have the perfect position for the ribbons, you will need to cut off any excess ribbon.
It’s a good idea to leave a few extra cm’s to be folded and sewn into the shoe to add a bit more strength to the ribbon.
Be sure to burn the very ends of the ribbon to avoid fraying or unravelling.
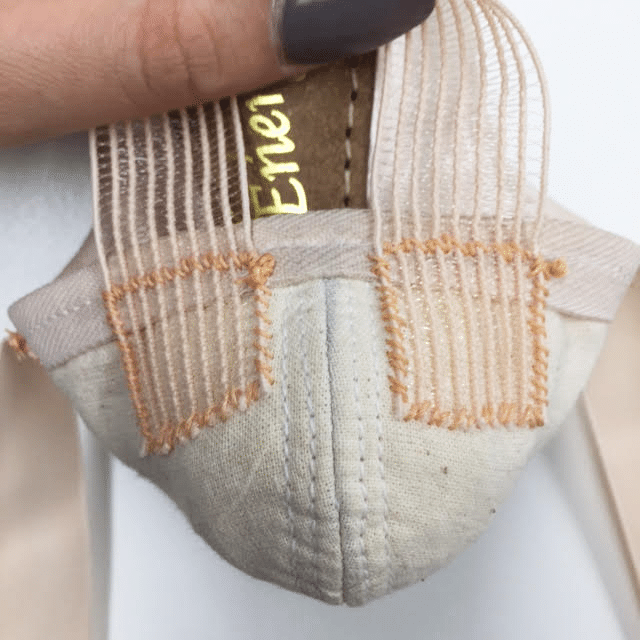
Step 5
Now use your needle and thread to sew around all four sides.
We love using the Bunheads Stitch Kit as it comes with nice strong needles and strong waxy thread that glides through easily, cutting your sewing time right down!
Be sure to avoid the draw string cord/ elastic when sewing across the top.
Try to sew through only the cotton lining, not through to the satin.
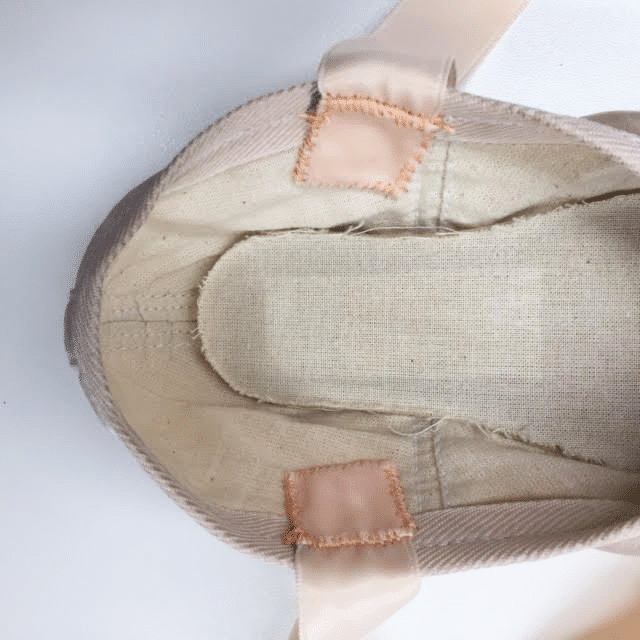
Step 6
Now that the ribbons are sewn, you will need to attach the elastic.
The positioning for elastic can differ depending on the dancer’s needs.
Ideally one piece should be sewn in a firm loop that sits across the front of the ankle.
Step 7
Attach one end of the elastic next to the edge of the binding.
After you have sewn the first side, stretch over your ankle, until you find the right tension.
Mark and sew the other side in the same position on the opposite side.
Step 8
Now that the ribbons and elastics are sewn, slip your foot into the pointe shoe and tie ribbons as you would, finishing in a double knot.
Cut off excess ribbon and burn the ends.
Be sure to leave enough ribbon to tie comfortably, but not so much that you can’t tuck the ribbon ends in.
DONE!
We hope that this step by step guide helps some first time pointe dancers and their dance mums! Remember there are lots of slightly different ways to sew ribbons and elastic onto pointe shoes and you will learn from experience what works best for you.